Log in
Create Account
Suppliers
Venues
Engagement
Inspiration
Planning
Fashion
Beauty
Gifts
Travel
Competitions
Planning
Photography
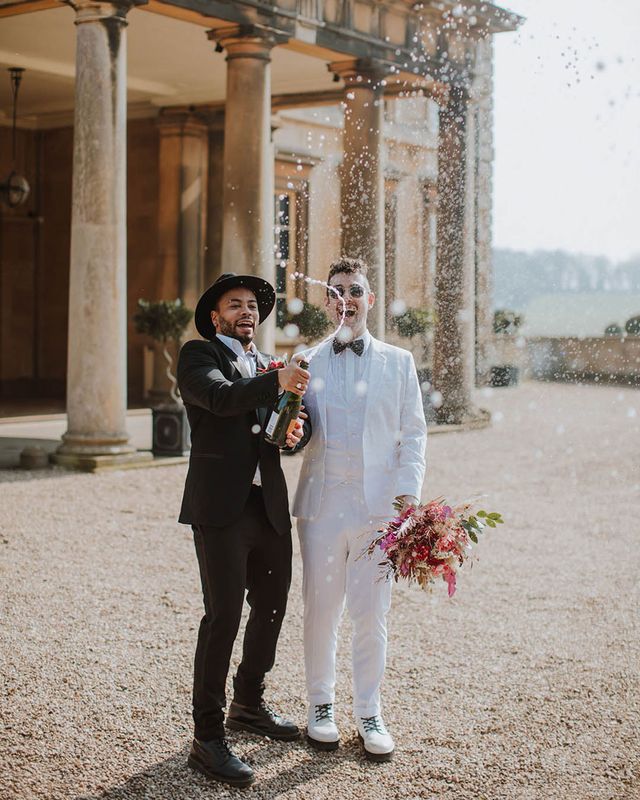
Fun Champagne Pop Wedding Pictures
Photography
,
17.08.2022
Pinterest
Email
Fun Champagne Pop Wedding Pictures
Written by Sasha Kirkham
Photography by
Sam Bennett Photography
Written by
Sasha Kirkham
Read More
Explosive Smoke Bomb Wedding Photos
Confetti Cannon {Make Your Wedding Day Go Off With a Bang!}
10 Must-Have Wedding Photographs
Wedding Day Drinks
Wedding Drinks - Ideas and Inspiration
10 Tips For Choosing Your Perfect Wedding Photographer
Wedding Photographers: The First Steps to Finding Your Perfect Match
Wedding Photography: 12 Important Questions To Ask Your Wedding Photographer
Episode 11 | Wedding Photography