Log in
Create Account
Suppliers
Venues
Engagement
Inspiration
Planning
Fashion
Beauty
Gifts
Travel
Recycle
Competitions
Suppliers
Venues
Engagement
Inspiration
Planning
Fashion
Beauty
Gifts
Travel
Recycle
Competitions
Log in
Create Account
Planning
Decor
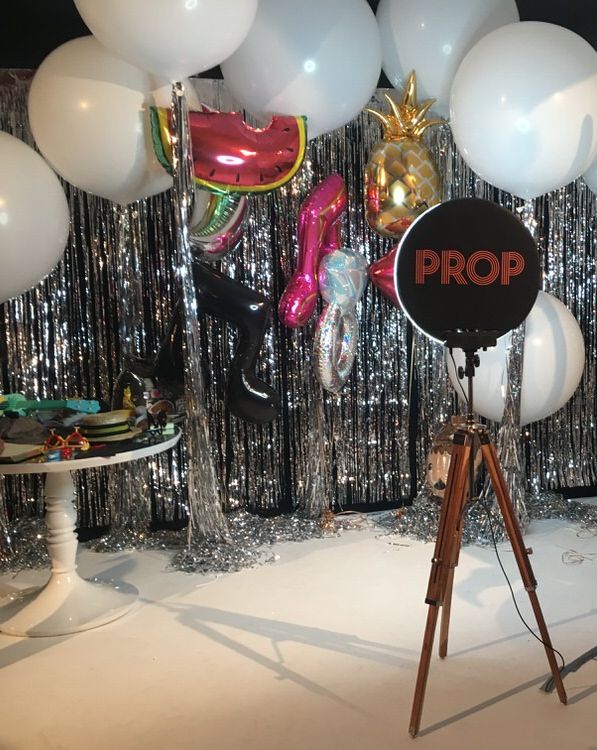
How To Create The Perfect Balloon Backdrop For Your Photobooth
Planning
Decor
Decor
,
24.07.2018
WhatsApp
Pinterest
Email
How To Create The Perfect Balloon Backdrop For Your Photobooth
Written by Fern Godfrey
Written by
Fern Godfrey
Photo Booth Company :
PROP